

Introduction
Codex CLI is OpenAI’s local coding agent that you can run in your terminal. It can read code, modify files, and execute code on your machine in the directory you choose. It is open source and built in Rust for speed and efficiency.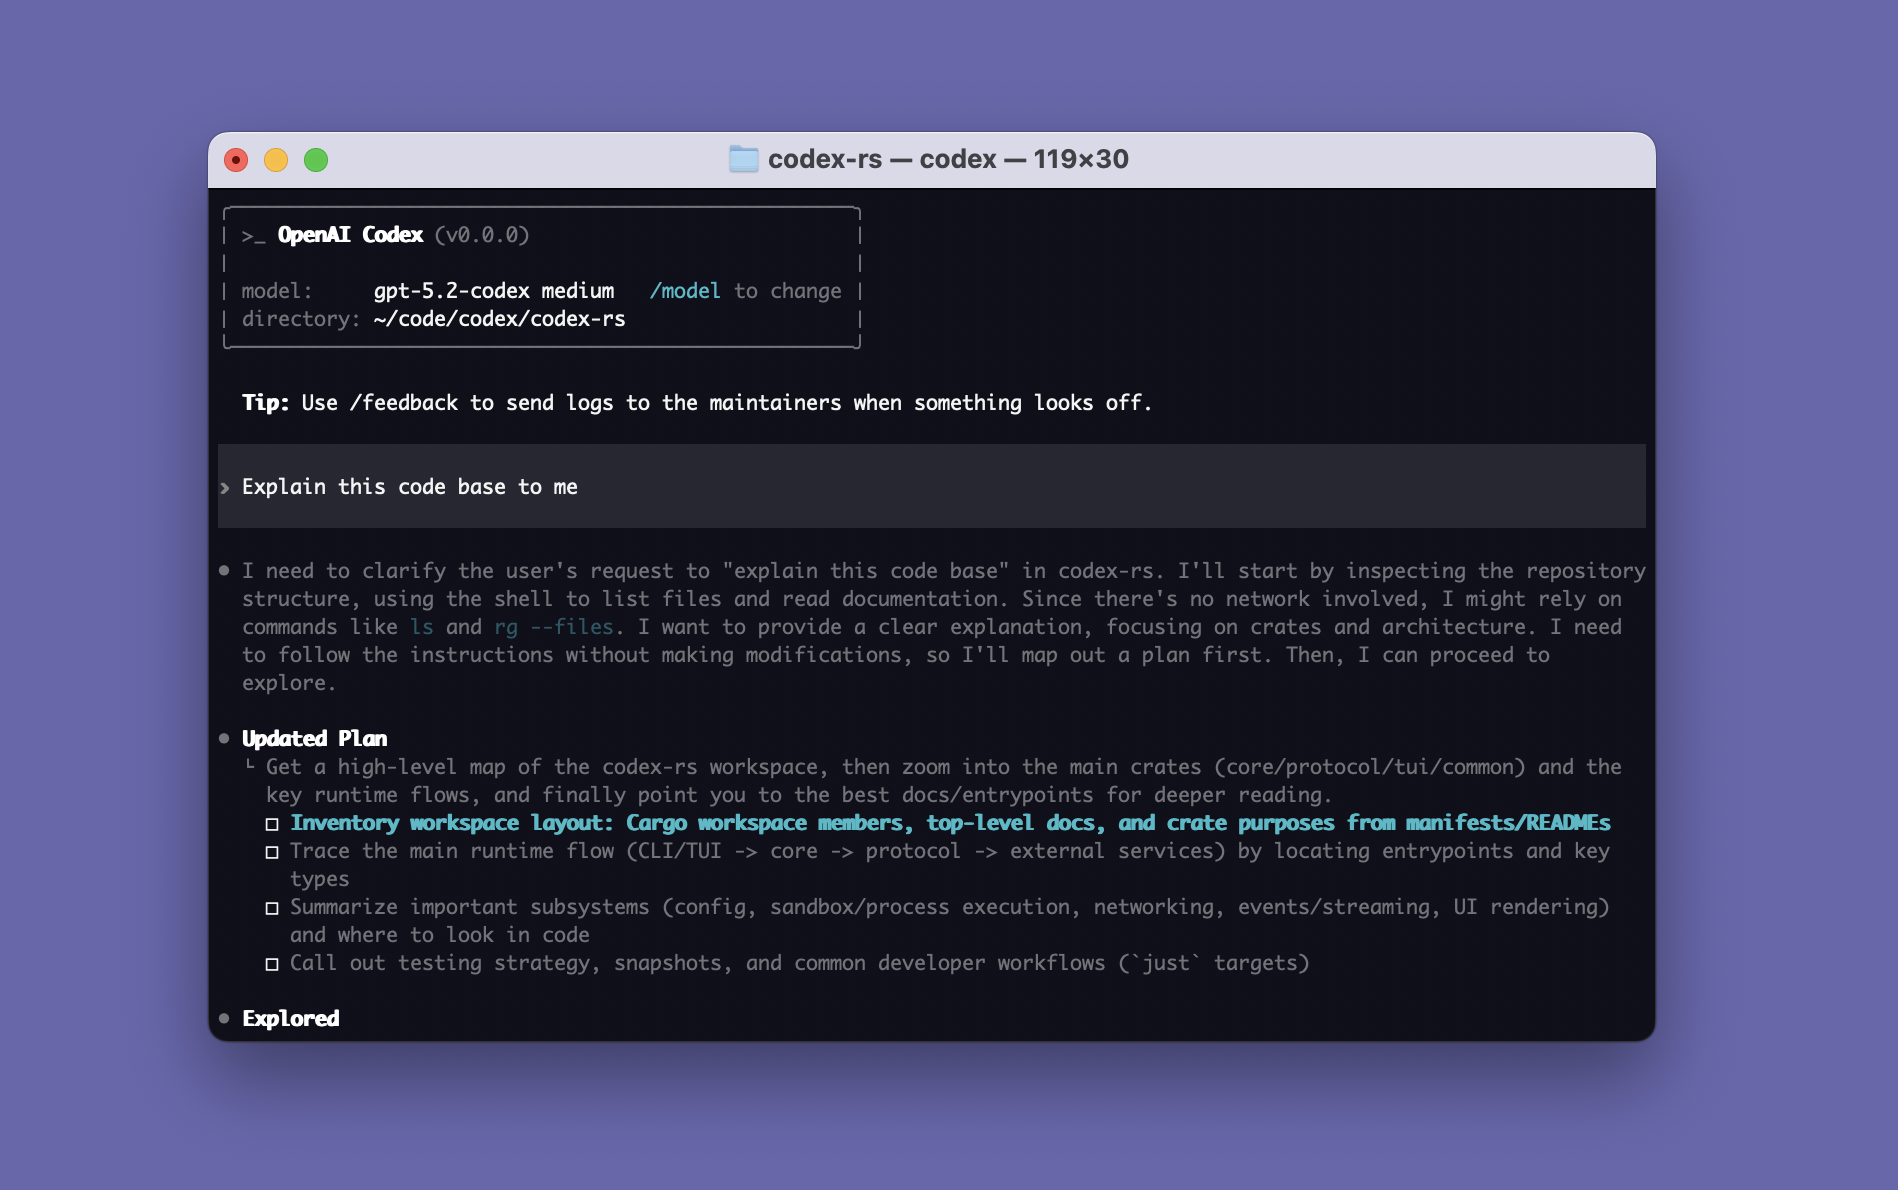
Codex CLI documentation
Installation, usage, commands, and configuration reference
Codex CLI GitHub repository
Source code, release binaries, and contribution guide
Prerequisites
Make sure you have:- An open terminal or command prompt
- A code project to work on
- An API token that supports the OpenAI Responses protocol (how to create a token)
Install Codex CLI
Run the following command in your terminal to install globally:Configure Codex CLI
Create the Codex configuration file as follows:- macOS/Linux
- Windows
config.toml:
Model selection tips (Codex series):
gpt-5.2-codex: The default first choice and the most capable overall, suited to most real-world engineering tasks (refactoring, troubleshooting, cross-file changes, multi-step implementation).gpt-5.1-codex: A stable general-purpose choice (between 5.2 and mini), suited to everyday development and as a team default.gpt-5.1-codex-mini: Best for cost-effectiveness; suited to quick fixes, small changes, scaffolding, and simple problem diagnosis.gpt-5.1-codex-max: Best for long or deep tasks; suited to large-scale refactoring, migrations, complex debugging, and long-running agent loops.gpt-5-codex: A more “conservative/compatible” choice, suited to cases where you need to match older behavior or have specific cost/stability requirements.
Set environment variables
Set your API Key as an environment variable:- macOS/Linux
After configuration, we recommend restarting your terminal to make sure the environment variables take effect.
Get started
Go to your project directory and start Codex CLI:Usage tips
1. Have it “understand” first, then “act”
We recommend splitting a complex request into two steps:- Understand/explore: Have it first survey the architecture, entry points, dependencies, and key paths
- Implement/verify: Then have it change the code, run tests, and show the diff
2. Use /diff + /review often: review each round of changes like a PR
/diff: View working tree changes at any time (including files not tracked by Git), so you always know what changed./review: Start a dedicated reviewer that reads the diff you choose and gives prioritized suggestions, and does not touch your working tree.
3. Use /permissions to switch between “cautious” and “hands-off” at any time
Codex’s Approval modes are Auto, Read-only, and Full Access, and you can adjust them dynamically during a session with /permissions.
4. Remember to /compact in long conversations
After many rounds of conversation (especially cross-file refactoring or troubleshooting), the context keeps growing.
/compact condenses the currently visible conversation into a summary, reducing token pressure while keeping key conclusions.
5. Put “long-term repository rules” in AGENTS.md
/init generates an AGENTS.md scaffold in the current directory, where you can write “this repository’s long-term preferences, conventions, and off-limits areas”.
Common examples:
- In this project, always communicate with the user in English.
- Which test command to use by default
- Code style / lint / commit conventions
- Which directories/files must not be modified
- Output format (must provide a diff, must provide migration steps, etc.)
Basic commands
1. Launch and run
K_CODEX environment variable is set, and that config.toml has env_key = "K_CODEX" and base_url = "https://api.poixe.com/v1".
2. Common CLI flags (available at launch)
3. Resume a session
~/.codex/sessions/), so you can pick up where you left off.
4. Non-interactive mode (CI/scripts): codex exec
Suited to automation: have it run checks, output results to stdout or JSONL, and write to files when needed.
codex exec (such as --json, --output-last-message, --output-schema, and --yolo) are described in detail in the official documentation.
In-session slash commands
Typing/ in an interactive session pops up a searchable list of commands.
Here are the ones you will use most:
The table above corresponds to the official Slash Commands documentation.
Notes
1. Don’t set the permission mode too wide (especially Full Access)
- Auto (default): Reading, writing, and executing inside the directory is smooth, but it asks you again for anything outside the directory or involving the network
- Read-only: Advisory only; it needs your approval before changing code or running commands
- Full Access: Spans the whole machine and includes network access; use it sparingly, and only for repositories/tasks you trust completely
2. Web search is cached by default, which does not mean “live web”
Codex’s web search is enabled by default, but it prefers an OpenAI-maintained cached index (cached) over fetching live pages; you can also enable live search with a flag. Even so, treat web results as “untrusted input” to guard against prompt injection.3. Windows support is experimental
According to the official documentation, Codex CLI is more mature on macOS / Linux, and Windows support is still experimental; using it in a WSL workspace is recommended.4. Use it inside a Git repository whenever possible
Many capabilities (such as/diff, review, and change tracking) depend on Git.
If you run it in a non-Git directory, you can use --skip-git-repo-check when needed (mainly in codex exec scenarios).
5. “Behavior differences” under the Poixe gateway
Poixe is a relay layer and makes certain engineering trade-offs in stability, risk control, billing, and tool capabilities. If some capability is unavailable or behaves differently, first consult the relevant sections of Poixe’s compatibility and differences documentation.Important:Poixe filters parameters related to
reasoning.encrypted_content passed to the OpenAI Responses API, to avoid errors caused by encrypted reasoning fragments not being session credentials that work across organizations or Keys.For details, see Poixe’s Encrypted reasoning content filtering section.FAQ
It asks me to log in / says I lack permission after starting?
It asks me to log in / says I lack permission after starting?
The first run guides you through login (ChatGPT OAuth / API key). If you use API key mode, confirm that:
- The
K_CODEXenvironment variable is set env_key = "K_CODEX"is configured correctly inconfig.toml
Why can't it write to a directory or run certain commands?
Why can't it write to a directory or run certain commands?
This is usually caused by permissions or sandbox policy. Check the following in order:
- Whether
/permissionsis currently set to Read-only - Whether you need to add the directory to the writable scope (
--add-diror configure writable roots) - Whether the sandbox policy is restrictive (for example,
--sandbox read-onlyblocks writing/executing)
Why didn't /review change my code?
Why didn't /review change my code?
This is by design:
/review starts an “independent reviewer” that only reads the diff and outputs suggestions, and does not modify the working tree.You decide whether to adopt the suggestions and make the changes manually, or have Codex apply them as a regular task.How do I use Codex in scripts/CI?
How do I use Codex in scripts/CI?
Use
codex exec.- For machine-readable output: add
--json - To write the final result to a file: use
--output-last-message/-o - To continue a run: use
codex exec resume ...
I want live web results instead of cached?
I want live web results instead of cached?
Add
--search at launch to switch web_search from the default cached to live.Per the official documentation: --search sets web_search="live".